EIT Wireless
EIT WiFi Connect and Authenticate
EIT provides free Wi-Fi access on campus for students. Upon completing the enrolment process, students are issued login credentials which enable them to connect to the Wi-Fi network named "EIT WiFi."
Please note that the EIT login system mandates a password change every three months. This periodic password update affects Wi-Fi connectivity on campus. The IT services department recommends forget and reconnect to the EIT WiFi network after changing your password to avoid account lockout.
As an educational institution, EIT is committed to safeguarding students from potential threats, including cyberattacks. Consequently, certain security requirements must be met to use the campus Wi-Fi. These requirements include, but are not limited to, the following:
- Windows 10 version 1909 or earlier (including Windows XP, Windows Vista, Windows 7, and Windows 8) are not supported by EIT.
- macOS 11 and earlier versions are no longer supported by EIT.
- Android 14 and earlier versions may not be supported, as the latest security patch expires in March 2024.
- iOS 16 and earlier versions are no longer supported by EIT. iOS 17 is the minimum requirement for both iPad and iPhone.
IT Services strongly recommends updating your operating system to the latest version to prevent connectivity issues.
Devices, including but not limited to phones, laptops, and tablets, that do not support TLS 1.2 or higher will be unable to connect. This typically applies to devices manufactured before 2018 or certain IoT devices.
Connect to EIT WiFi
Authenticate to the EIT wireless network on your device. For instructions, click on the operating system your device uses.
Windows 10 [show | hide]
Depending upon the computer or device you have it may look slightly different from below.
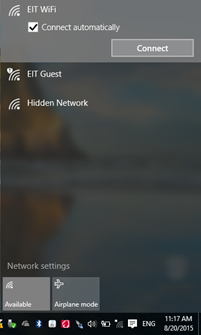
1. Click on the wireless network icon in the system tray and click EIT WiFi network. It is recommended to tick Connect Automatically which means while you are on-campus this network will connect to your device. Click Connect.
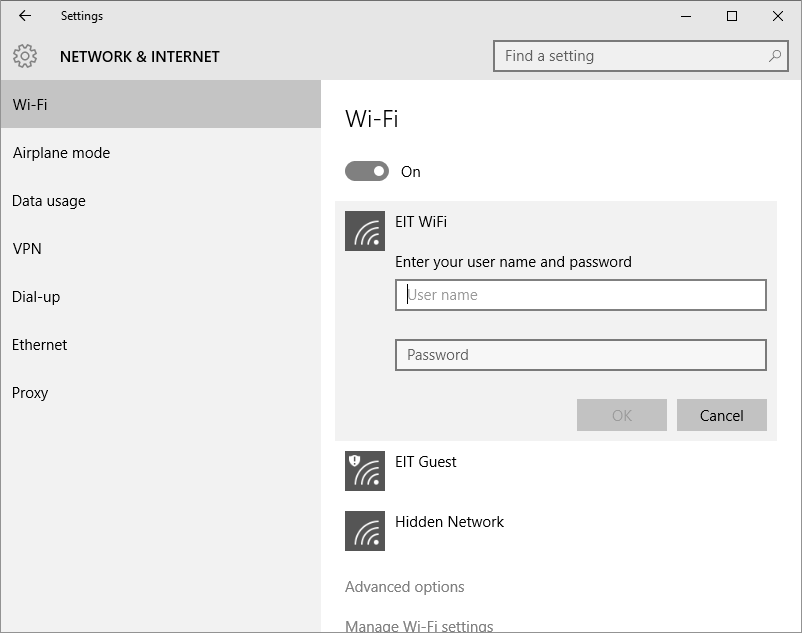
2. A network authentication screen will appear. Enter your EIT network username and password.
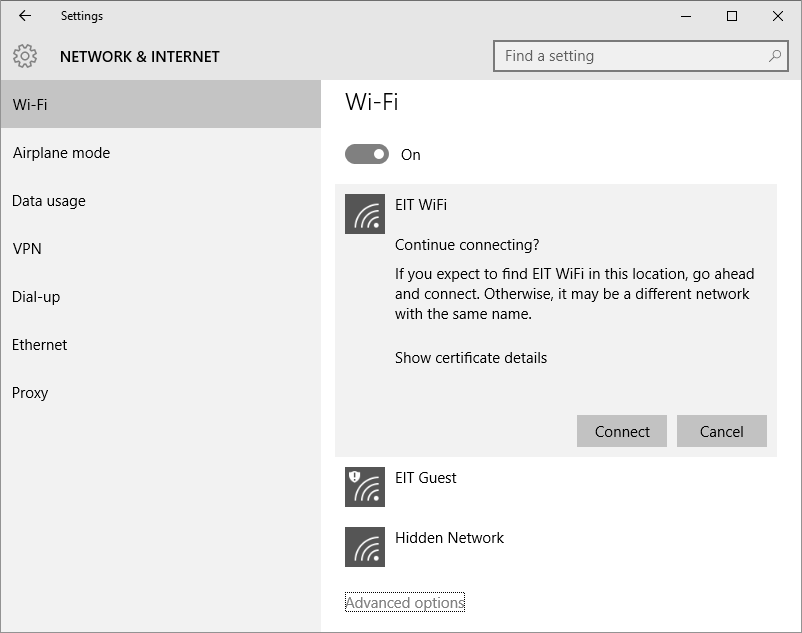
3. A connection attempt server certificate will appear. This certificate is set to authenticate to the EIT authentication server, click Connect. You may be prompted to enter your EIT network username and password again.
Windows 11 [show | hide]
1. Click on the Network icon in the system tray at the bottom-right corner of the screen.

2. Click on the EIT Wi-Fi, It is recommended to tick Connect Automatically which means while you are on-campus this network will connect to your device. Click the Connect button

3. You will be prompted to enter a username and password. Enter your EIT network username and password, click Ok button

4. A connection attempt server certificate will appear. This certificate is set to authenticate to the EIT authentication server, click Connect

Mac OSX 12.0 (Monterey), 13.0 (Ventura) and 14.0 (Sonoma) [show | hide]
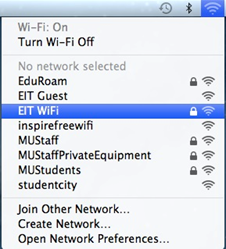
1. Locate the Wi-Fi/Airport status menu (in your menu bar in the upper right hand corner of the screen). Screenshots vary according to your OS version.
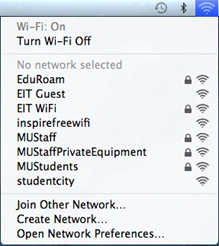
2. Click on EIT WiFi.
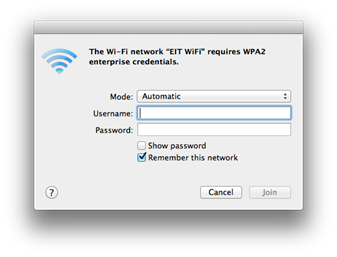
3. Mac OSX will prompt you for your EIT Network username and password. Enter these then click the Join button.
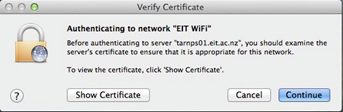
4. If the Verify Certificate screen appears, click the Continue button.
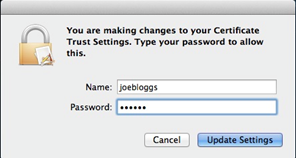
5. If prompted enter your Mac OSX account credentials and click Update Settings to accept the certificate.
6. At this stage you should be successfully connected to the EIT WiFi.
Android [show | hide]
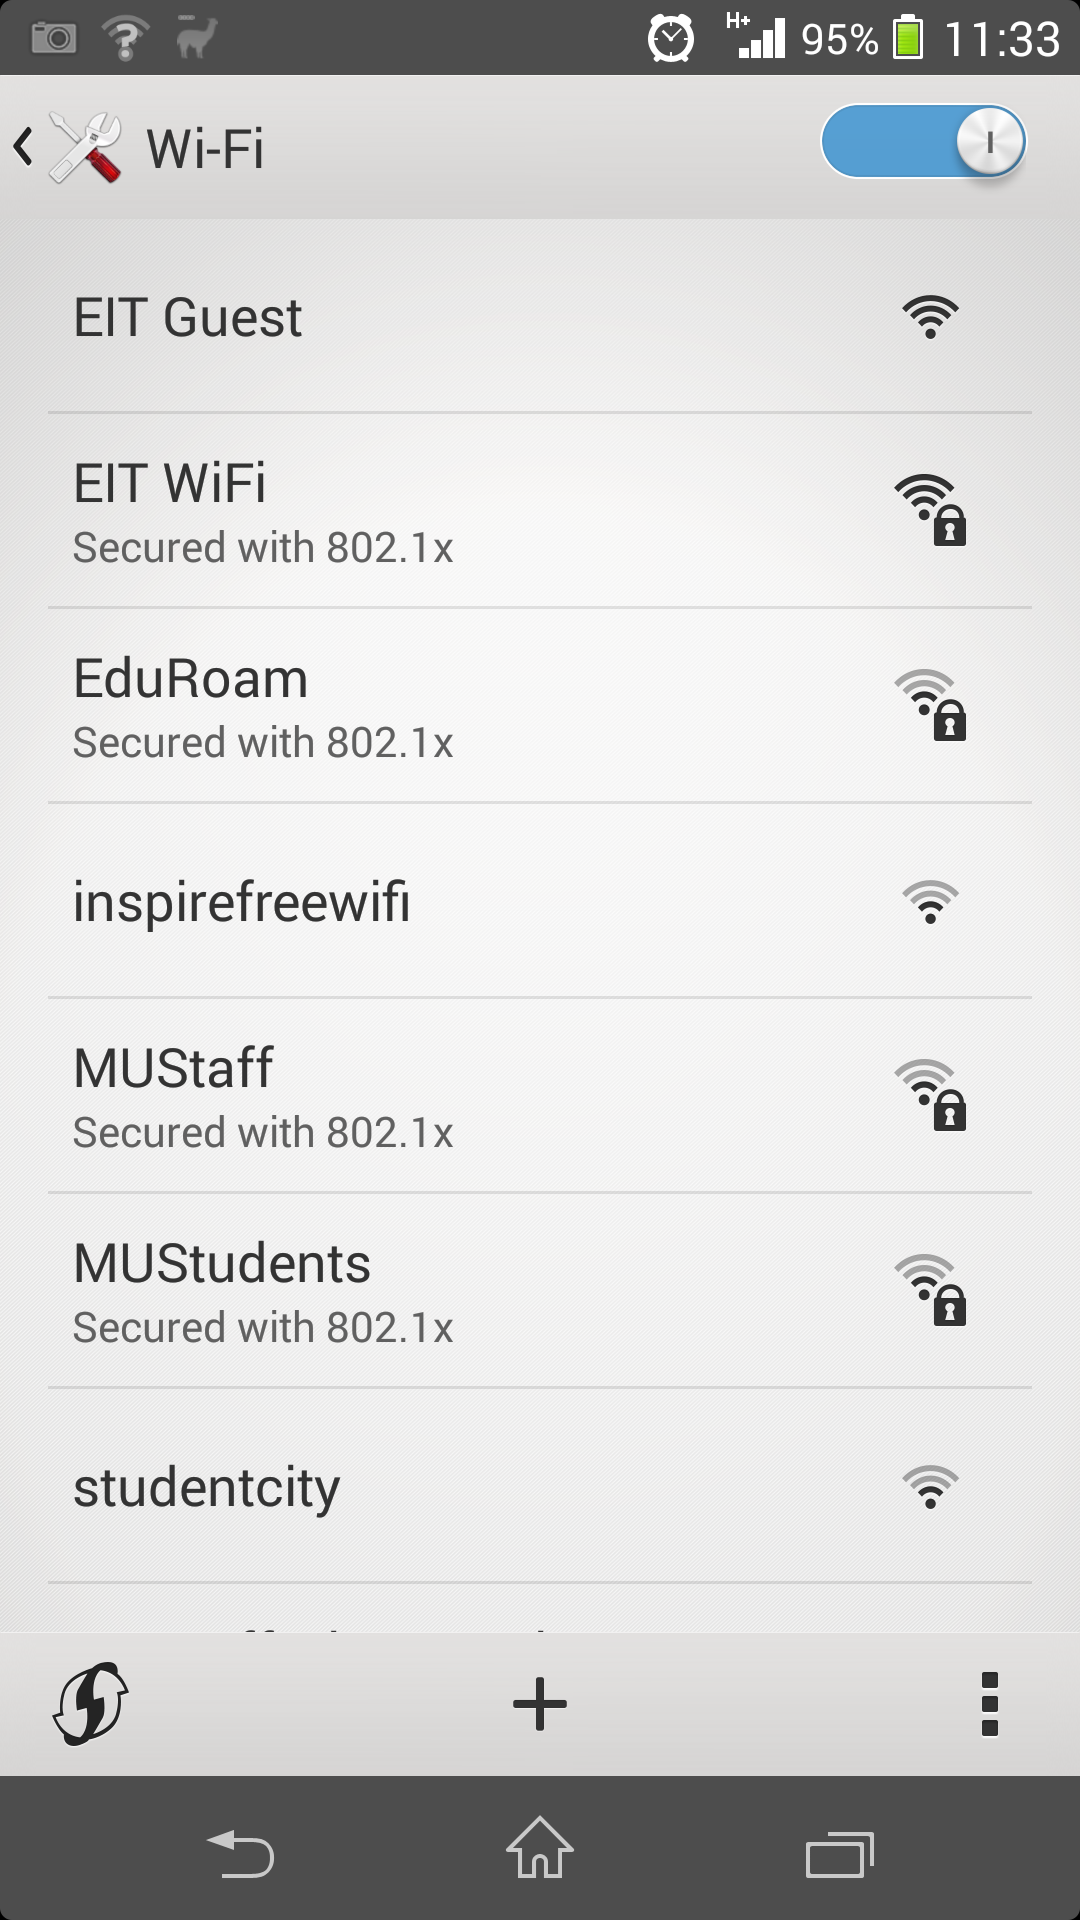
- Browse to Wi-Fi Settings.
- Under available networks, select EIT WiFi.
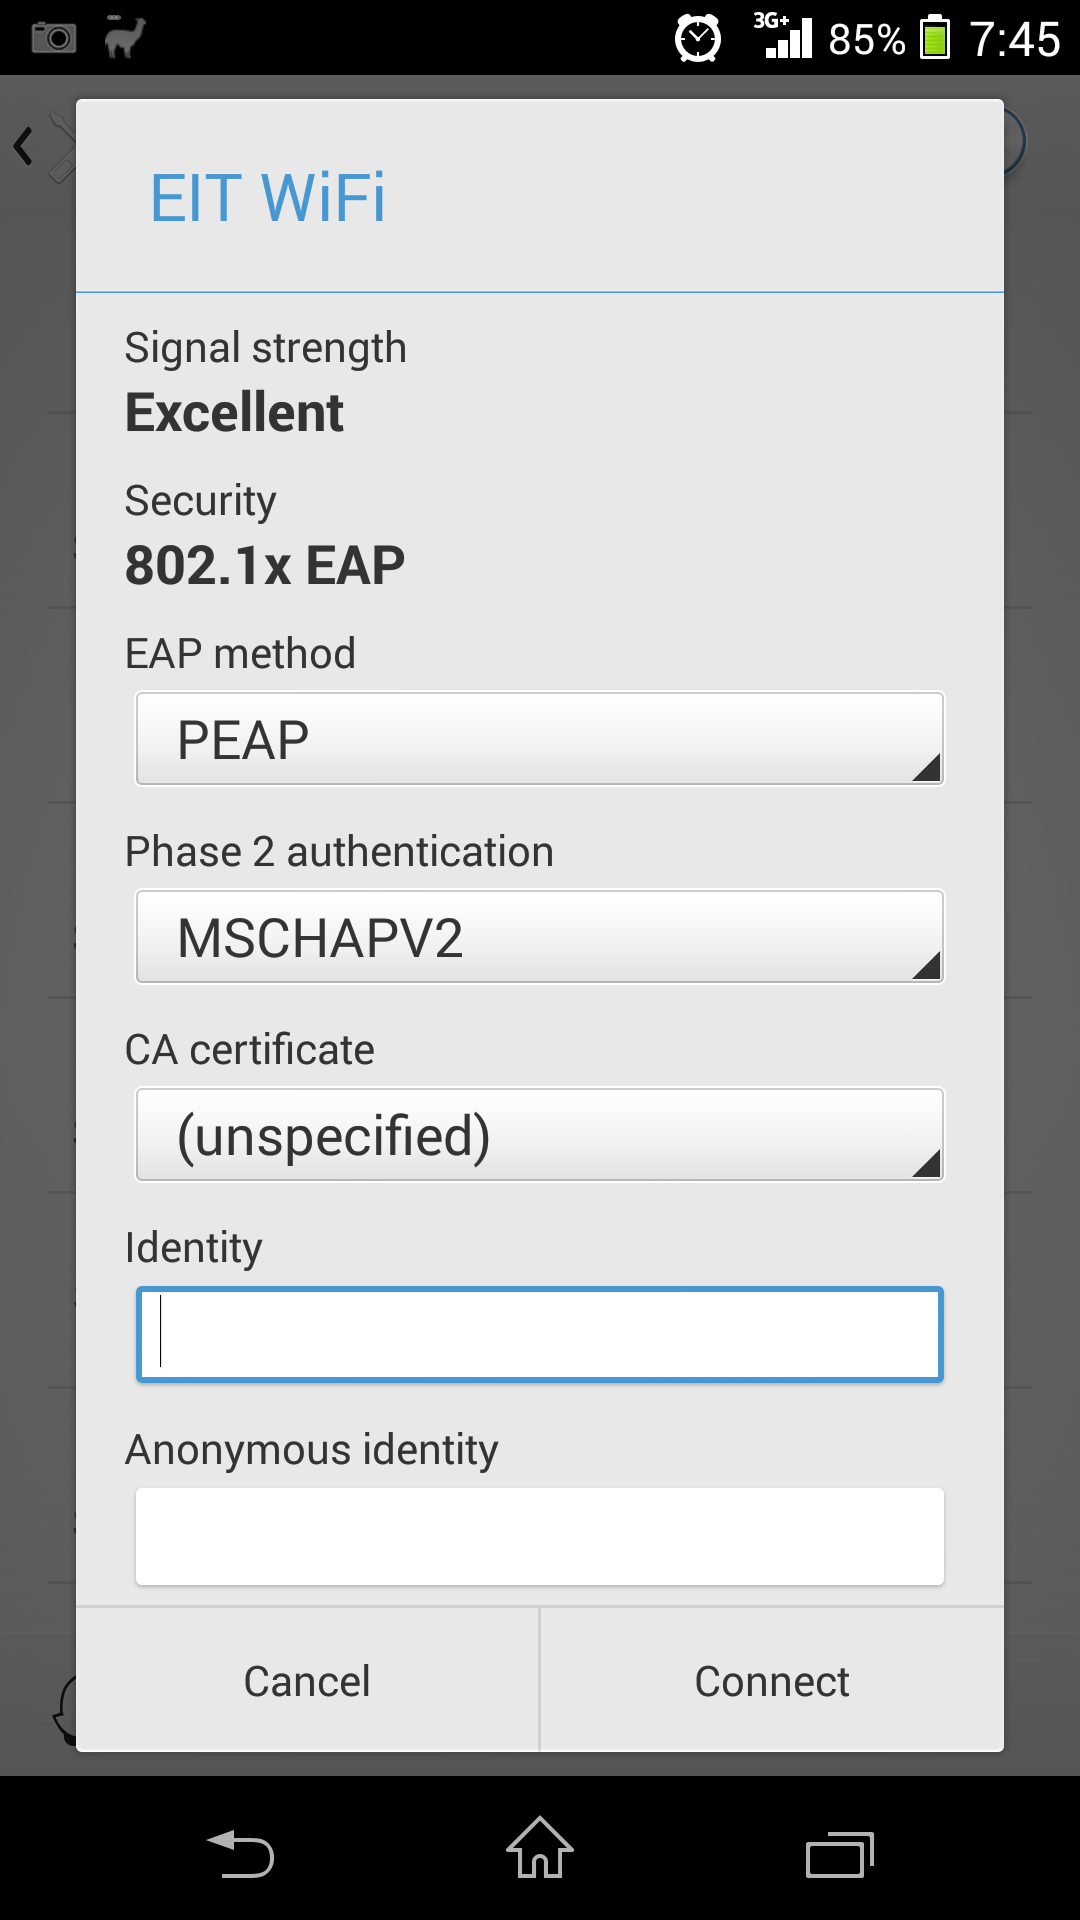
- Adjust the following settings:
- EAP Method: ............................ PEAP
- Phase 2 Authentication:......... MSCHAPV2
- CA Certificate: ......................... Use system certificate
- Online certificate status:........ Do not verify
- Domain: ..................................... eit.ac.nz
- Make sure the Anonymous identity field is blank. Some devices will fill it automatically with 'anonymous'.
- Enter your EIT username & password and press Connect.
iOS [show | hide]
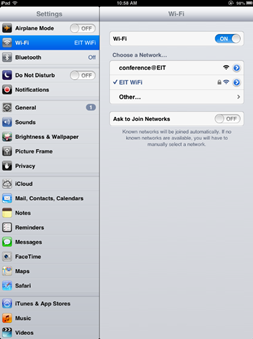
- Browse to Wi-Fi settings.
- Under 'other networks', select EIT WiFi.
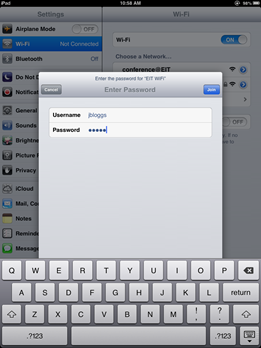
- Enter your EIT username and password and press Join.
- Trust the certificate that appears.

WiFi for Student Villa only - SRV Wireless Connection